Add Content to a General CMS Template
Find out how to add content to a general CMS template page.
When you click Edit on a page in the CMS, the Edit screen will pop-up, showing the fields you can edit for that page.
Tip: If you find it difficult to enter your content in the small text area, click the full screen icon ![]() toggle to bring up a full screen. To return to the regular view, click the full screen icon again.
toggle to bring up a full screen. To return to the regular view, click the full screen icon again.
Common fields
Metadata
Pages start with the metadata fields: Display Name, Title, Summary, Author.
Advanced Options
Hidden by default. This contains options for an alternate logo and navigation, as well as some page-specific options, such as drawer style and intro banner on an article page.
Alternate Logo
Navigation

Column blocks
There are 3 types of column blocks:
- Left Blocks display content on the left column of the page
- Middle Blocks display content in the center of the page
- Right Blocks display content in the right-hand column of the page (3-column template only)
Manipulating column blocks
- To create more column blocks (left, middle, or right), click the plus sign.
- To delete a column block, click the red X.
- To reorder column blocks, use the up and down arrows.
![]()
Choosing column block content
For each block, select either WYSIWYG or Shared Block under Content to Use.
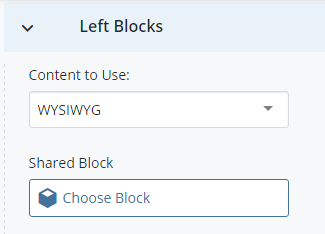
If you choose WYSIWYG, you will use the WYSIWYG editor to enter content.
If you choose Shared Block, you need to choose which shared block to use:
- Click Choose Block and Browse to the block you want in the _block-content folder.
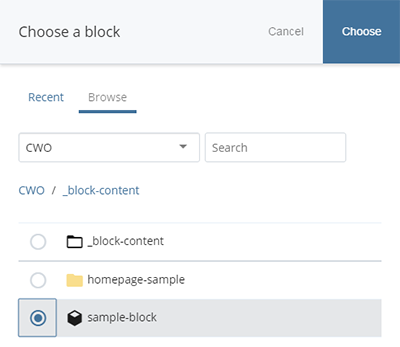
- Click Choose.
Shared blocks
Using shared blocks lets you create a section of content once and place it on different areas of your website. To create a shared block:
- Click Add Content and choose Modules > Block.
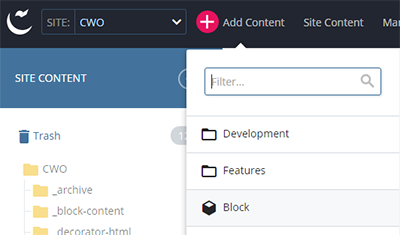
- Enter a system name for the block.
- Enter the content in the Block Content field.
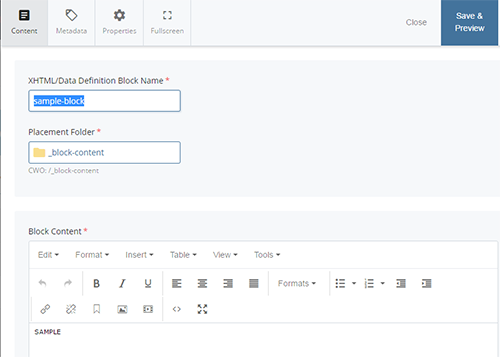
- Click Save & Preview.
- Click Submit.
- You can now place this block in any column on a page.
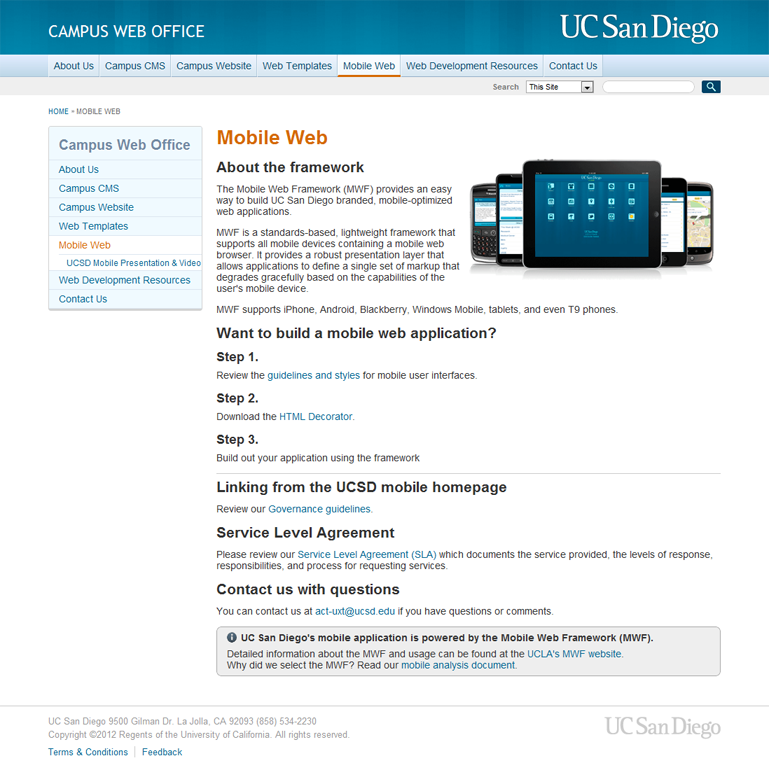
Two column template (article)
The two column template provides a large area for content and images. Left-hand navigation reflects the taxonomy of the site. Blocks of content can also be placed below the navigation.
Example two column page:
Three column template
The three column template can be used for pages that have multiple content areas or blocks. This template works the same as the Two Column Template with the addition of a third column on the right side of the page.
Example three column page:

Drawer template
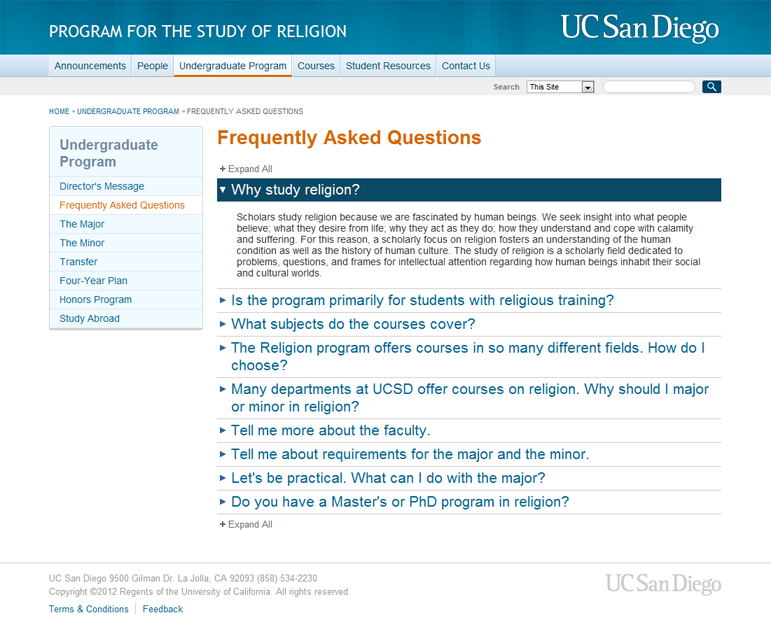
The drawer template lets you organize content into "drawers" or expandable / collapsible subsections in the center of the page. Each drawer consists of a Drawer Title, where you enter a given section's title text and a Drawer Body where you input its corresponding content. This template is ideal for lengthy content (such as FAQs).
Example drawer page:
