CMS: Uploading Images
Find out how to upload images to the CMS.
There are two ways to upload a new image:
- Use the WYSIWYG editor to upload an image directly onto a page.
- Upload images directly into an images folder for later use.
Note: In both cases, if you want to put the image in a new sub-folder in /_images, you need to create the new folder first.
Add Content: Upload the new image directly to /_images
For consistent organization across multiple CMS users and to avoid duplicate information, keep your images in an /_images folder (or a subfolder of /_images). Images should not be in the same folder as your page content.
Note: Don't put images in a /_modules folder - they will not publish from there.
Note: Don't upload an image that is too large or it will slow your page down. Resize images before uploading them. Most templates have a usable width of 900 pixels.
To add a new file, you will need to specify both the file and the file location within the CMS.
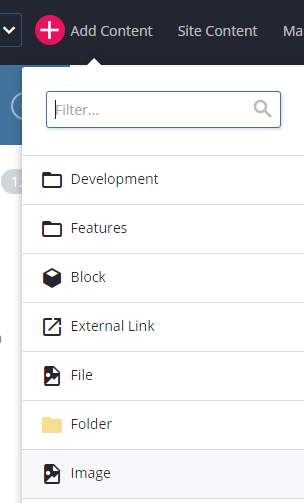
- From the menu bar, select Add Content
- Select Image
- On the new image screen that pops up, Drop a file in the indicated area or click choose to select a file from your computer.
- The file name will default to the name of the file you chose. Update the file name so it follows the rules for system names: all lowercase, uses hyphens instead of spaces, and has no special characters.
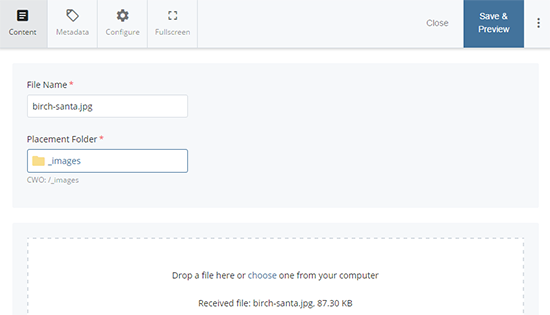
- Choose a placement folder for the file.
- Click Placement Folder.
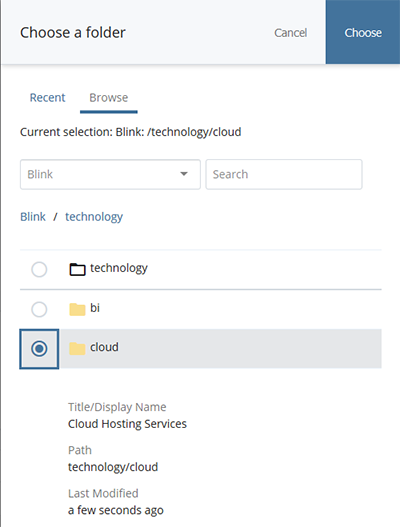
- In the Choose a folder window that pops up, click Browse.
- Select an appropriate folder inside /_images.
- Click on the appropriate folder in the breadcrumb path to go up levels.
- Click on the name of a folder to open it and access sub-folders.
- Click the radio button next to the folder you want to hold the image.
- Click Choose.
- The Choose a folder window will close.
- Click Save & Preview.
- Click Submit.