CMS: Working with Image Captions (Advanced)
Find out how to create advanced image captions on a CMS page.
Image captions are useful for giving your images context and/or attribution. Captions are not a replacement for image descriptions (alt text), which are still required.
For many captions, using the CMS caption feature is sufficient. But if you want to control text wrapping or float your image to the left or right of the text, you need to edit the HTML.
HTML caption
Define figure width
Use <figure> and <figcaption> to create captions in the HTML editor.
Define the width of the figure as the same width as the image to prevent the caption text from being wider than the image:

Note that using <figure> automatically creates a border surrounding both image and text.
Example code: Define width
<figure style="width: 290px;">
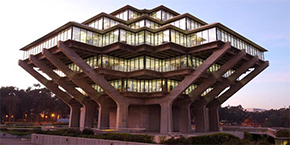
    <img alt="Geisel Library" src="/_images/homepage/geisel-library.jpg" width="290" height="145" />
    <figcaption>Geisel Library, named in honor of Audrey and Theodor Seuss Geisel (Dr. Seuss)</figcaption>
</figure>
Define float (alignment)

If you want to float an image and caption to the right or left of text, you need to define this within the figure element (not the image).
You can add a margin to the figure if the page text is too close to your image.
Example code: Define float
<figure style="width: 290px; float: right; margin-left: 20px;">
    <img alt="Geisel Library" src="/_images/homepage/geisel-library.jpg" width="290" height="145" />
    <figcaption>Geisel Library, named in honor of Audrey and Theodor Seuss Geisel (Dr. Seuss)</figcaption>
</figure>