Connecting to the UCSD Network Via Ethernet With Windows Vista
Last Updated: April 10, 2024 12:03:29 AM PDT
Give feedback
Follow the steps below to connect to the UCSD network via Ethernet with Windows Vista.
Note: You need an active Ethernet connection registered with IT Services/ Hostmaster (faculty and staff) or ResNet (students), and your UCSD network username and password. If you've forgotten your username or password, see UC San Diego Accounts and Passwords.
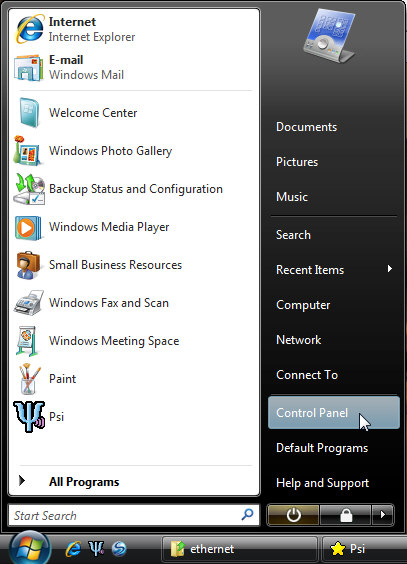
1. Open the control panel.
- Click Start.
- Select Control Panel.
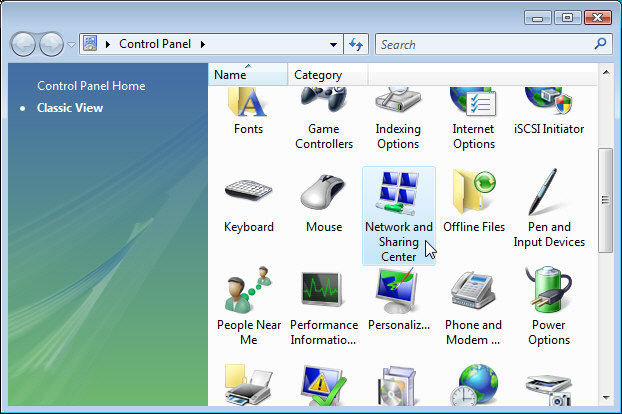
2. Open the Network and Sharing Center.
- Click Classic View.
- Click Network and Sharing Center.
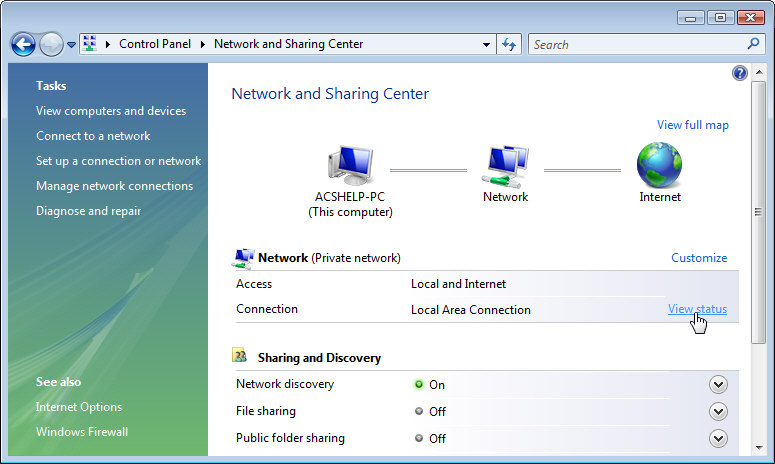
3. Open Local Area Connection status.
- Click View status (to the right of Local Area Connection).
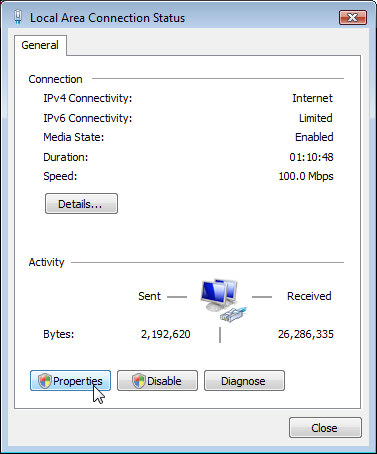
4. Edit your Local Area Connection properties.
- Click Properties.
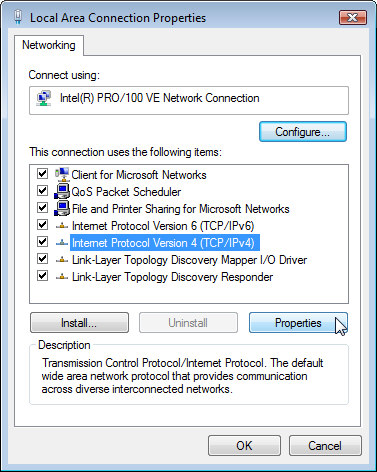
5. Edit Internet Protocol settings.
- Check Internet Protocol Version 4(TCP/IPv4).
- Click once on Internet Protocol Version 4(TCP/IPv4) to highlight it, then click Properties.
6. Set up your Ethernet connection.
- Select Obtain an IP address automatically.
- Select Use the following DNS server addresses.
- For Preferred DNS server, enter 132.239.0.252
- For Alternate DNS server, enter 132.239.0.250.
- Click OK.
- Click Close.
- Close the Local Area Connection Status window and close the Control Panel.
- Restart your computer.

For more information, contact the ITS Service Desk, (858) 246-4357 or ext. 6-HELP.