Connecting to the UCSD Network Via Ethernet With Ubuntu Linux
Last Updated: May 19, 2025 5:15:37 PM PDT
Give feedback
Follow these instructions to connect to the UCSD network via Ethernet with Ubuntu Linux.
Note: You need an active Ethernet connection registered with IT Services/ Hostmaster (faculty and staff) or ResNet (students), and your UCSD network username and password. If you've forgotten your username or password, see Getting or Changing UCSD Passwords.
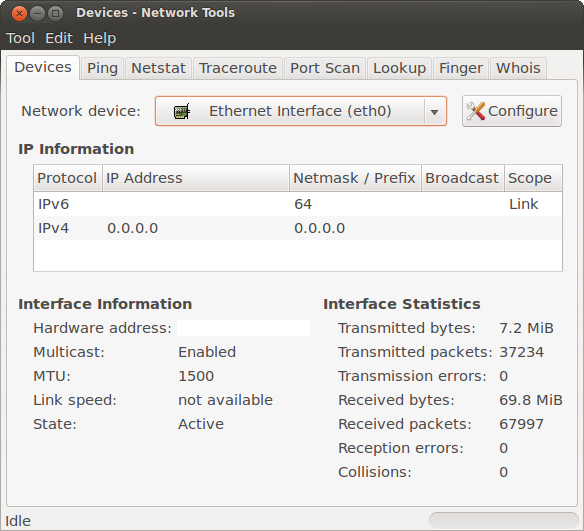
Open Network Tools
- Click Applications, then select System Tools
- Select Administration, then select Network Tools
- Select Ethernet Interface (eth0) for Network Device
- Click Configure to open the Network Connections window
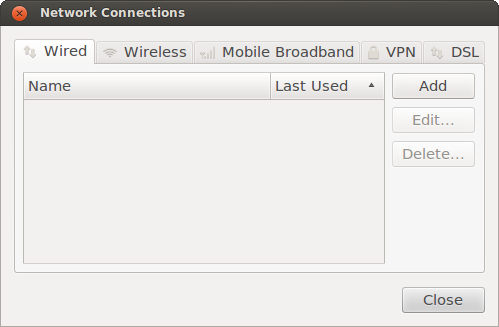
Create new network connection
- Select the Wired tab then click Add to create a new network connection.
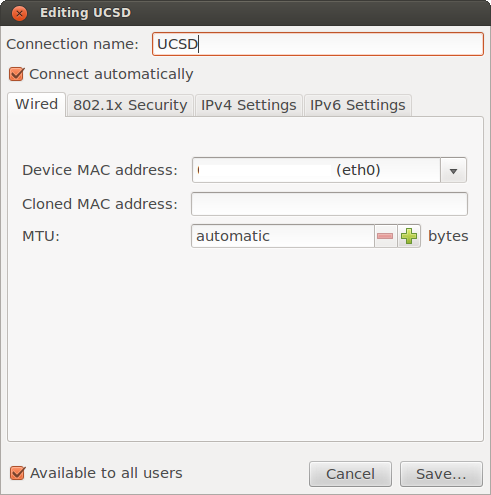
Edit new network connection
- Change Connection name: to UCSD
- Click on the Wired tab
- Select the MAC address (eth0) for Device MAC address
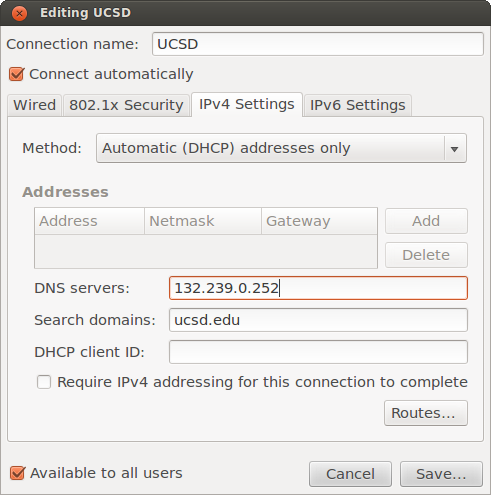
Set IPv4 settings
- Click on the IPv4 Settings tab, then for Method select either:
- Automatic (DHCP) addresses only, or
- Manual
- Note: Select this option only if you or your department's system administrator has a specific IP address to enter.
- Enter 132.239.0.252 and 132.239.0.250 for DNS servers
- Enter ucsd.edu for Search domains
- Leave the DHCP client ID field blank.
- Click Save..., then click Close.
- Exit out of the Devices - Network Tools window.
For more information, contact the ITS Service Desk, (858) 246-4357 or ext. 6-HELP.