How to Replace Your Video Thumbnail
Here’s how to replace the thumbnail for any of your videos.
Kaltura allows media owners (and co-editors) to change a video's thumbnail that displays before the video is played, or that shows when the video is seen in "My Media" or a Media Gallery. Your thumbnail can make your video more easily recognizable and add a nice touch. You have a few options on how to replace it.
What is a Thumbnail?
 In this context, a thumbnail is the small still image that's on your video before you play it. It's a way to kind of visually represent your video with a still image. Kaltura auto-generates a thumbnail based on a frame a few seconds into your video, but, as you've probably encountered, a random frame from your video may not always be useful, flattering, or meaningful.
There are a variety of reasons why you might want to change it, but you'd be surprised how the right still image can communicate more about the content of your video than its title or description can. After all, a picture is worth a thousand words.
Instructions
Replacing a thumbnail for a video is fairly easy, and you have several options.
- Within Canvas, click "My Media" in the left navigation.
- Locate the video in the list and click the pencil icon on the right side of its row.
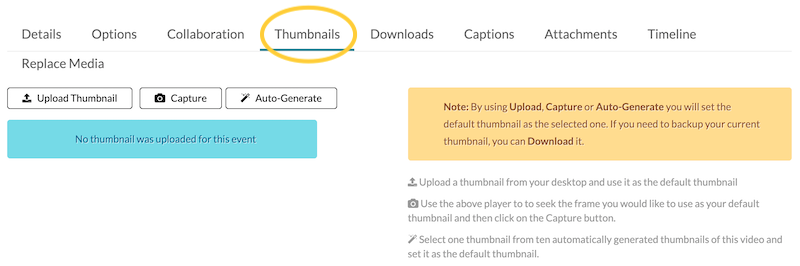
- Click on the "Thumbnails" tab below the video preview.
- Here you have three options for replacing the thumbnail. Select whichever approach suits your needs best (see below for descriptions). Note that once you select or generate a thumbnail different from the original, a "download" button will appear, allowing you to put the current thumbnail onto your computer.
Thumbnail Replacement Options
Upload thumbnail allows you to upload your own image. This offers you the most control of what users will see when they see your video, though you'll need to create the image yourself. One easy approach to this is to do this through PowerPoint: design one slide and then elect to export the presentation as an image file. Check out the drawer below if you want to learn more about this approach.
Capture allows you to select whatever frame is present within the player at the top of the screen. Play your video to whatever point you want, pause, and then click the "Capture" button to select that frame as your thumbnail.
Auto-generate brings up a menu featuring a handful of snapshots from your video. It's possible you'll find one that suits your purposes, but you arguably have more control with the other two options.
How to Create Your Own Thumbnail
You'd be surprised how useful PowerPoint can be for creating images, including thumbnails. With that in mind, here's a possible quick-and-easy workflow for creating your own thumbnail. Most of the details will be left up to you - it's your preferred design after all - but we'll lay the groundwork for you.
- Open PowerPoint and create a new presentation. If you want, you can use one an existing template if you like the design. Otherwise, just create a blank presentation.
- Click "Design" at the top of the window to open the design ribbon.
- Click "Slide Size" and select "Widescreen (16:9)."
- Design your slide.
Thumbnail Design Tips
- Use large text and few words. Remember that your thumbnail will be pretty small, at least when looking at it in the lists in "My Media" or the Media Gallery. Use large fonts.
- Part of the thumbnail may be blocked. Kaltura puts the video length on top of your thumbnail in the lower left corner in the "list view," and puts a play button on top of the center of your thumbnail when you're on a player page.
- Consider creating themes for videos in the same category. If you have videos that are thematically linked, consider using the same colors, fonts, and/or images to link them together visually, making similar videos easier to spot in your lists.
- Leverage shapes, clipart, or other objects. You can design images fairly easily in PowerPoint by adding shapes or using their clipart library. You can always just paste in images as well.
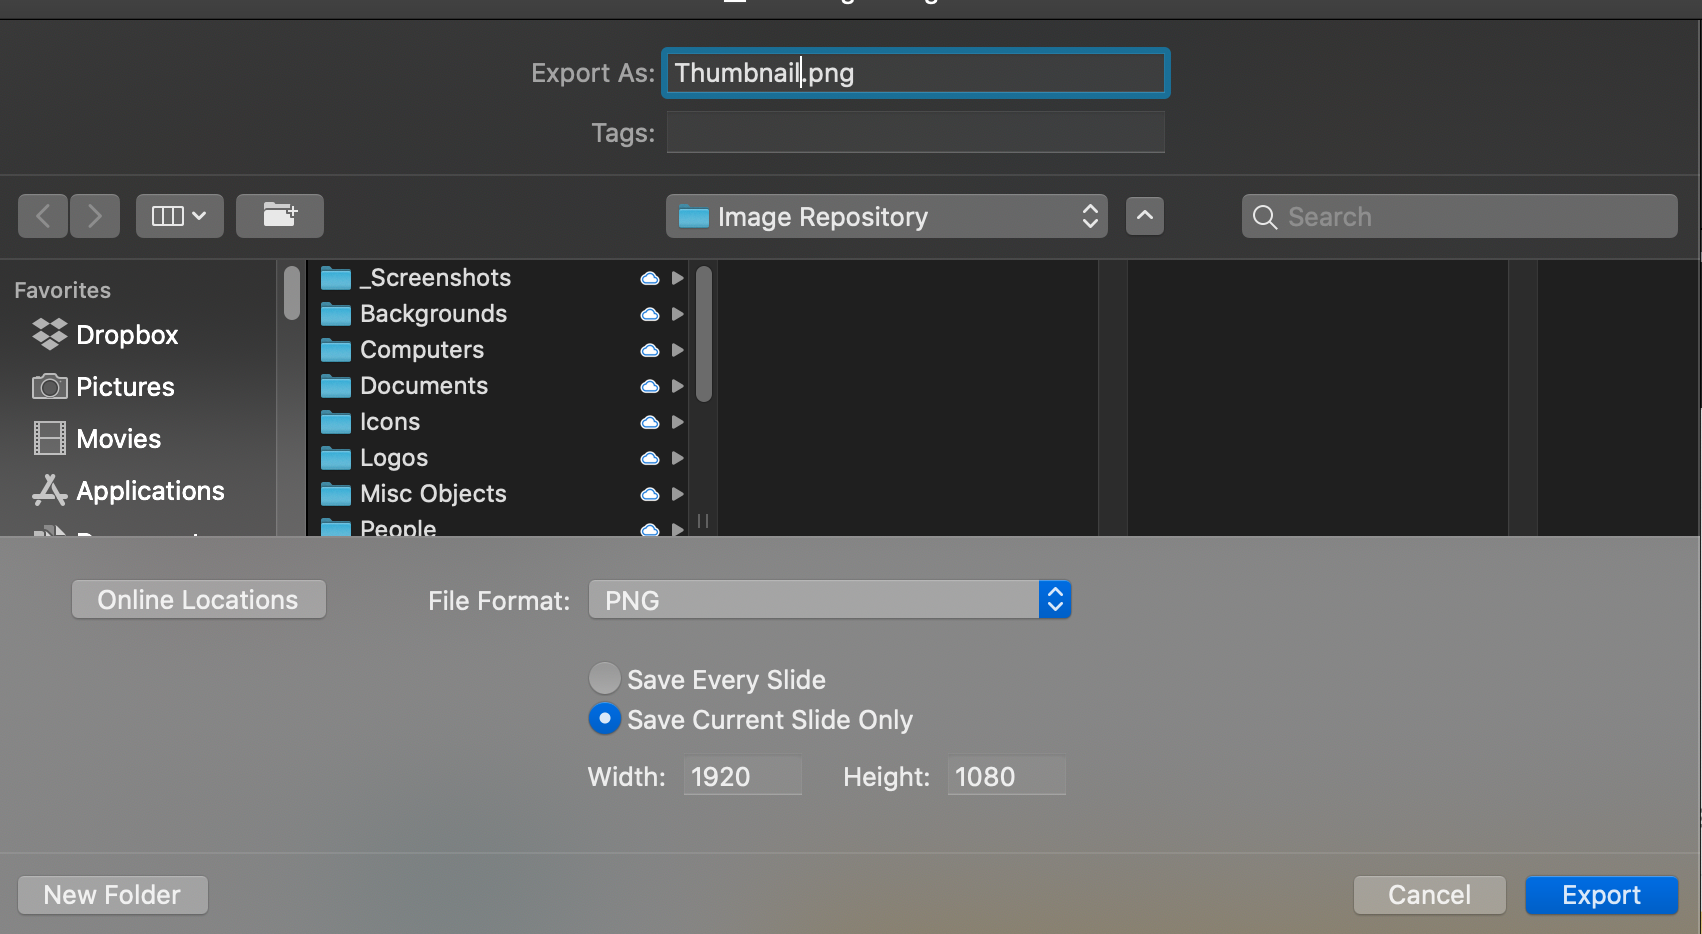
- When you're done designing your slide/thumbnail, and with the appropriate slide selected (in case you have other slides in your deck), click "File" at the top of the screen and select "Export."
- In the pull-down menu next to "File Format," select "PNG."
- Select the radio button for "Save Current Slide Only."
- Set the width and height to 1920 and 1080, respectively.
- Use the top of the window to identify where you want your image to end up.
- Click "Export."