Adding a Thumbnail to a MediaSpace Channel
A good channel thumbnail can catch a user's eye. Here's how to add one to your channel, with some advice on how to prepare one.
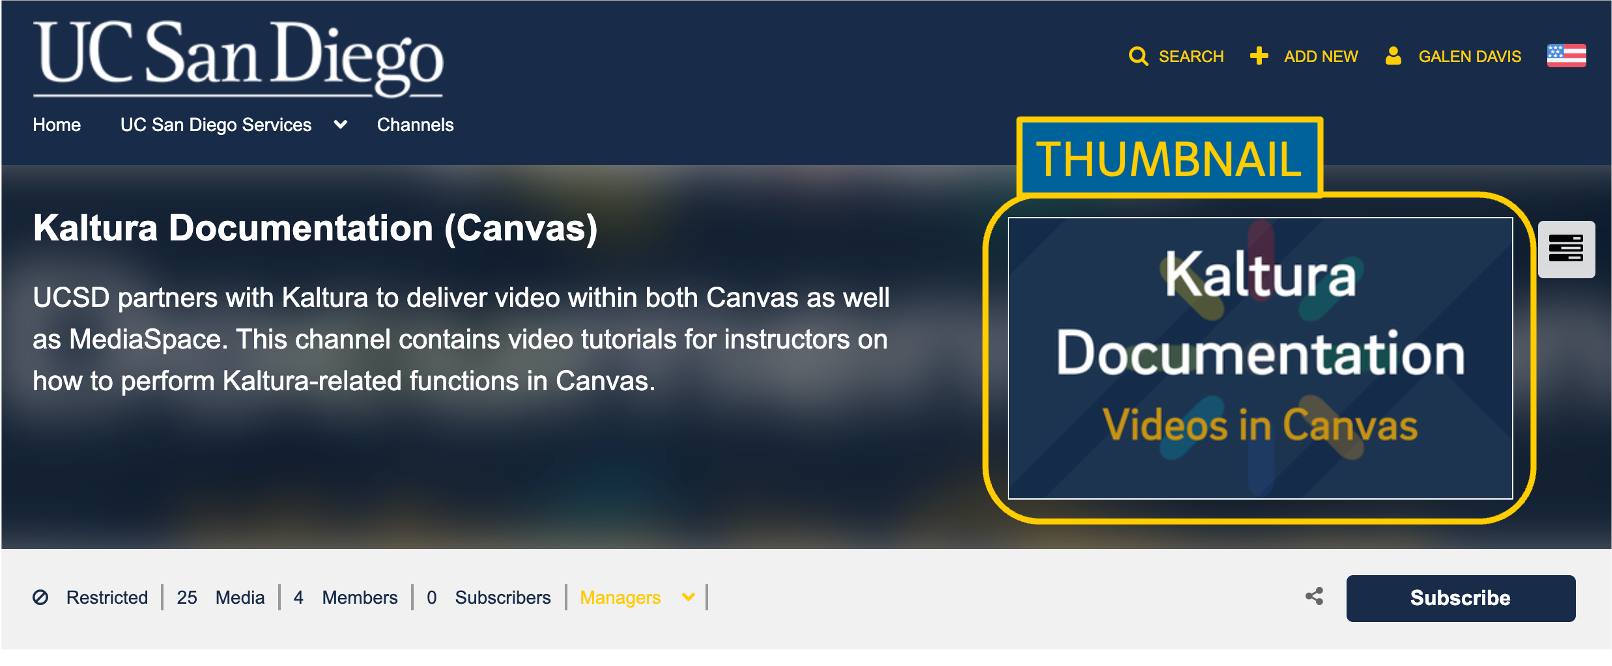
While you're not required to do so, adding a thumbnail image to your channel can help it stand out in addition to enhancing the look and feel of its landing page. Uploading a thumbnail will add an image to your channel's "tile" in lists of channels and will also display at the top of your channel's main page. It may be obvious, but in order to upload a channel thumbnail, you'll need to have prepared an image file of some sort.
What's a Thumbnail?
A thumbnail is a small image that is meant to be emblematic of the channel. It'll be shown on the channel's homepage in addition to wherever the channel can be searched for and found.
Though not essential, a good channel thumbnail can catch a user's eye (drawing traffic to your channel) or set the tone for your channel's content. If you intend to host content, especially publicly, it's probably prudent to spend a minute thinking about a good representative image for your thumbnail.
Preparing a Thumbnail
Unlike with your videos, there isn't a way to just select a thumbnail from a list of options for your channel within MediaSpace, so you'll need to make one yourself. By default, Kaltura will create a thumbnail based on the first video uploaded to the channel.
Whether you're creating the image from scratch or not, try to make sure that it's a "widescreen" image with a 16:9 width-to-height ratio, such as 1920 by 1080 pixels or 1280 by 720 pixels.
Using PowerPoint to Create a Thumbnail
If you don't have an image handy, you can easily leverage PowerPoint to throw together a thumbnail. PowerPoint is useful for creating a variety of images easily, including thumbnails. With that in mind, here's a possible workflow for creating your own thumbnail. Most of the details will be left up to you - it's your preferred design after all - but we'll lay the groundwork for you.
- Open PowerPoint and create a new presentation. If you want, you can use an existing template if you like the design. Otherwise, just create a blank presentation.
- Click "Design" at the top of the window to open the design ribbon.
- Click "Slide Size" and select "Widescreen (16:9)."
- Design your slide.
- When you're done designing your slide/thumbnail, and with the appropriate slide selected in the slide navigator pane on the left side of PowerPoint (in case you have other slides in your deck), click "File" at the top of the screen and select "Export."
- In the pull-down menu next to "File Format," select "PNG."
- Select the radio button for "Save Current Slide Only."
- Set the width and height to 1920 and 1080, respectively.
- Use the top of the window to identify where you want your image to end up.
- Click "Export."
You now have an image file that you can use as your thumbnail.
Thumbnail Design Tips
- Use large text and few words. Your thumbnail will appear much smaller than it does in PowerPoint, so use large fonts if you choose to use text.
- Part of the thumbnail may be blocked by your channel's name. When your channel is seen in a list with other channels, Kaltura displays the title of the channel on top of the thumbnail.
- Consider creating similar thumbnails for videos in the channel. If you have (or intend to have) videos in your channel that are thematically linked, consider using the PowerPoint presentation to design thumbnails for the individual videos. (Just remember that only owners and co-editors of videos can edit their thumbnails.)
- Leverage shapes, clipart, or other objects. You can design images fairly easily in PowerPoint by adding shapes or using their clipart library. You can always just paste in images as well.
Uploading a Thumbnail
- If you’re not already logged into MediaSpace:
- Go to https://mediaspace.ucsd.edu, click on "Guest" at the top right, and select "Log in."
- Enter your Active Directory credentials.
- Click your name at the top right of the screen and select "My Channels."
- Find your channel and click on it.
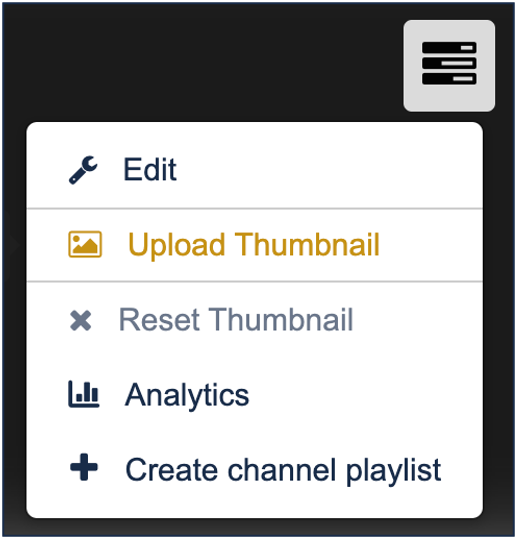
- Click the icon that looks like three horizontal lines ("Channel Actions").
- Select "Upload Thumbnail" from the menu that appears.
- Click "Choose a File to Upload."
- Locate the image file on your computer and click "Open."
- Click "Save" after the image uploads.