Managing Channel Members
Last Updated: January 19, 2023 10:35:14 AM PST
Give feedback
You can configure your channel so that different member roles allow for different channel privileges.
There are a variety of reasons you may want to add, edit, or remove channel members. If your channel is anything except "open," no one will be able to see its content unless you add them as a member.
In this section we'll provide instructions for the following:
- Adding members
- Changing an existing member's role
- Removing members
- Assigning a new channel owner
Adding Members
You can add users to your channel and assign them one of several roles.
- If you're not already logged into MediaSpace, do so by going to https://mediaspace.ucsd.edu, clicking on "Guest" at the top right, and selecting "Log in." Enter your Active Directory credentials.
- Click your name at the top right of the screen and select "My Channels."
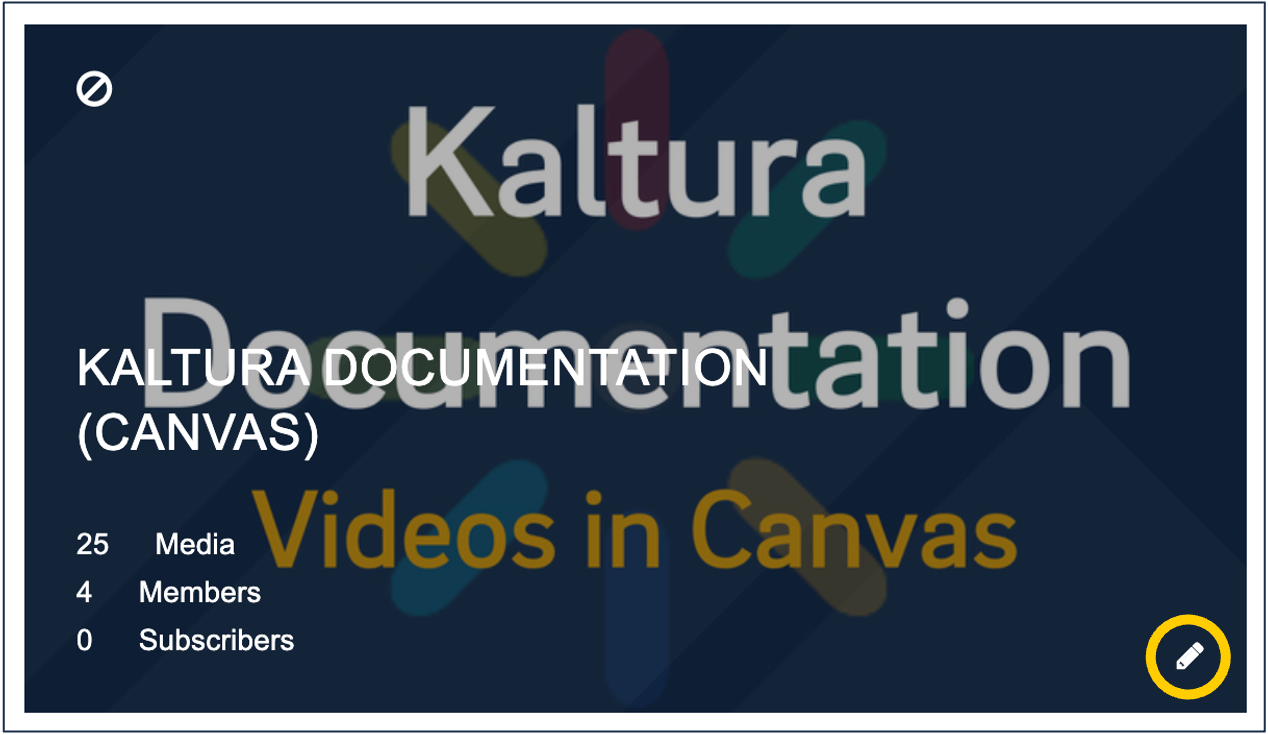
- Find your channel and move your mouse over it. Click on the small pencil icon that appears within the thumbnail.
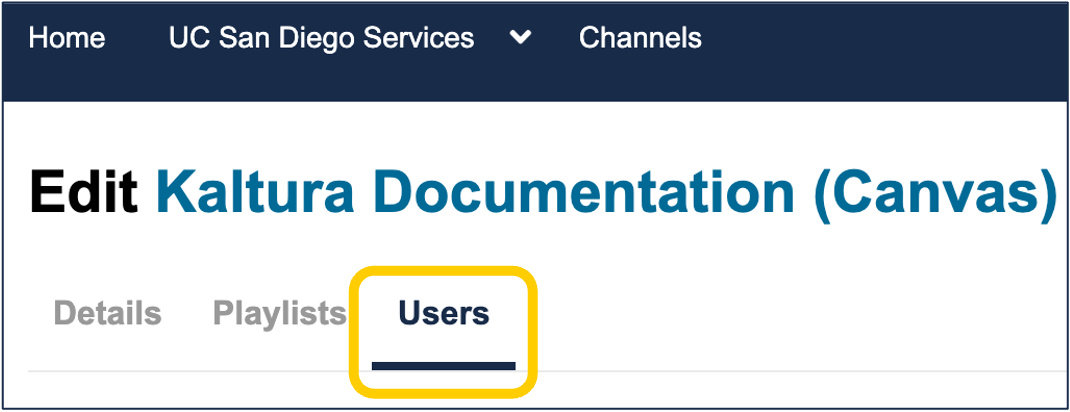
- Near the top of the page, click the tab that says "Users."

- Click "Add Users."
- Search for the user in question. We recommend searching for their UCSD username rather than their actual name.
- Identify what role you want them to have by selecting the appropriate radio button. Note that you can add multiple users during this segment to assign them to the same role.
| Role | View Content | Add Content | Moderate Content | Edit Channel Settings | Delete Channel |
|---|---|---|---|---|---|
| Member | ✔ | X | X | X | X |
| Contributor | ✔ | ✔ | X | X | X |
| Moderator | ✔ | ✔ | ✔ | X | X |
| Manager | ✔ | ✔ | ✔ | ✔ | ✔ |
Changing an Existing Member’s Role
- If you're not already looking at your channel's list of members:
- Go to https://mediaspace.ucsd.edu, click on "Guest" at the top right, and select "Log in."
- Enter your Active Directory credentials.
- Click your name at the top right of the screen and select "My Channels."
- Find your channel and move your mouse over it.
- Click on the small pencil icon that appears within the thumbnail.
- Near the top of the page, click the tab that says "Users."
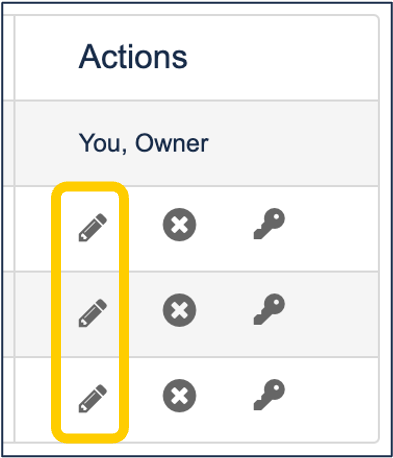
- In the far right column ("Actions"), click the pencil icon on the row of the user whose role you want to change.
- The user's role in the "Permission" column will turn into a pull-down menu. Select the new desired role from the menu.
- The pencil icon in the "Actions" column for that user should have also transformed into a disk icon. Click that icon to save any changes you make to the user's role.
Removing Members
- If you're not already looking at your channel's list of members:
- Go to https://mediaspace.ucsd.edu, click on "Guest" at the top right, and select "Log in."
- Enter your Active Directory credentials.
- Click your name at the top right of the screen and select "My Channels."
- Find your channel and move your mouse over it.
- Click on the small pencil icon that appears within the thumbnail.
- Near the top of the page, click the tab that says "Users."
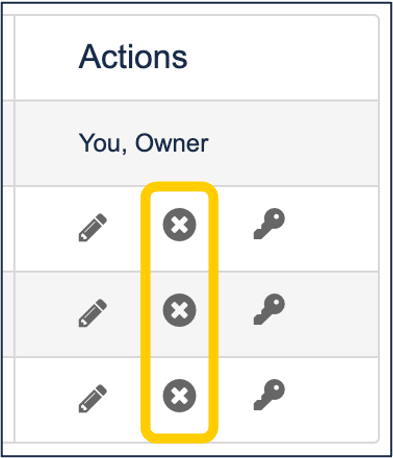
- In the far right column ("Actions"), click the "X" button in the row of the user you want to remove.
Assigning a New Channel Owner
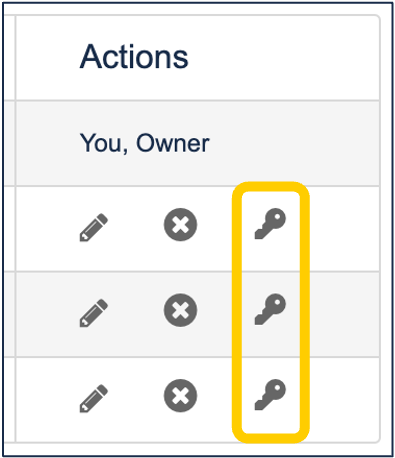 Channels can only have one owner. If, for whatever reason, you need to relinquish ownership of your channel, here's how to assign someone else as an owner. When you do this you'll automatically be given a "manager" role.
- If you're not already looking at your channel's list of members:
- Go to https://mediaspace.ucsd.edu, click on "Guest" at the top right, and select "Log in."
- Enter your Active Directory credentials.
- Click your name at the top right of the screen and select "My Channels."
- Find your channel and move your mouse over it.
- Click on the small pencil icon that appears within the thumbnail.
- Near the top of the page, click the tab that says "Users."
- Find the user that you want to assign as the owner, and in their row, in the far right column ("Actions"), click the "key" icon.
- Click "Yes" to confirm that you're OK being reassigned as a "manager."
Have additional questions about video? Contact Multimedia Services at kaltura@ucsd.edu.